paper-christmas-wreath-(3) (1)

How I Made My Paper Christmas Wreath

paper christmas wreath

My Paper Christmas Wreath

I always liked the idea of making my own holiday decorations and Christmas wreath to hang on my door. 

I first did it in 2019, and I was so proud of it. You can see how it turned out here.

This is my second Christmas Origami Wreath. Yes, I did it in 2020 and I’m just now posting it. Sometimes it’s hard to look over the photos, make the selection, edit them a bit, write the article (this is the hardest part for me), and publish the article.

Sometimes it takes me a year…

Well, enough rambling, let’s get started.

Planing the wreath

The first step is planning how I want it to look, find inspiration, decide what elements I want to use, those kinds of things.

The inspiration was easy to find, I usually look at Instagram or Pinterest.

I discovered those two amazing Instagram accounts @oliviajoyflowers and @floriya_paper_flowers. They have some beautiful Christmas wreaths and I just wanted to make a similar one.

So now, was the time to make a few branches and see how it looks, if I like them or not, before going too far.

I made a few and I liked them.

I used A4 xerox paper for this part. I used multiple sizes about 3.5, 4, or 4.5 cm x 30 cm. 

And for the longer ones, the pines one I used 7.5 cm x 30 cm.

I first cut the paper into long strips and then I fringed the ended of it.

I used a wire and rolled the paper around it going down the wire doing it and then used my fingers to fringe the paper a bit.

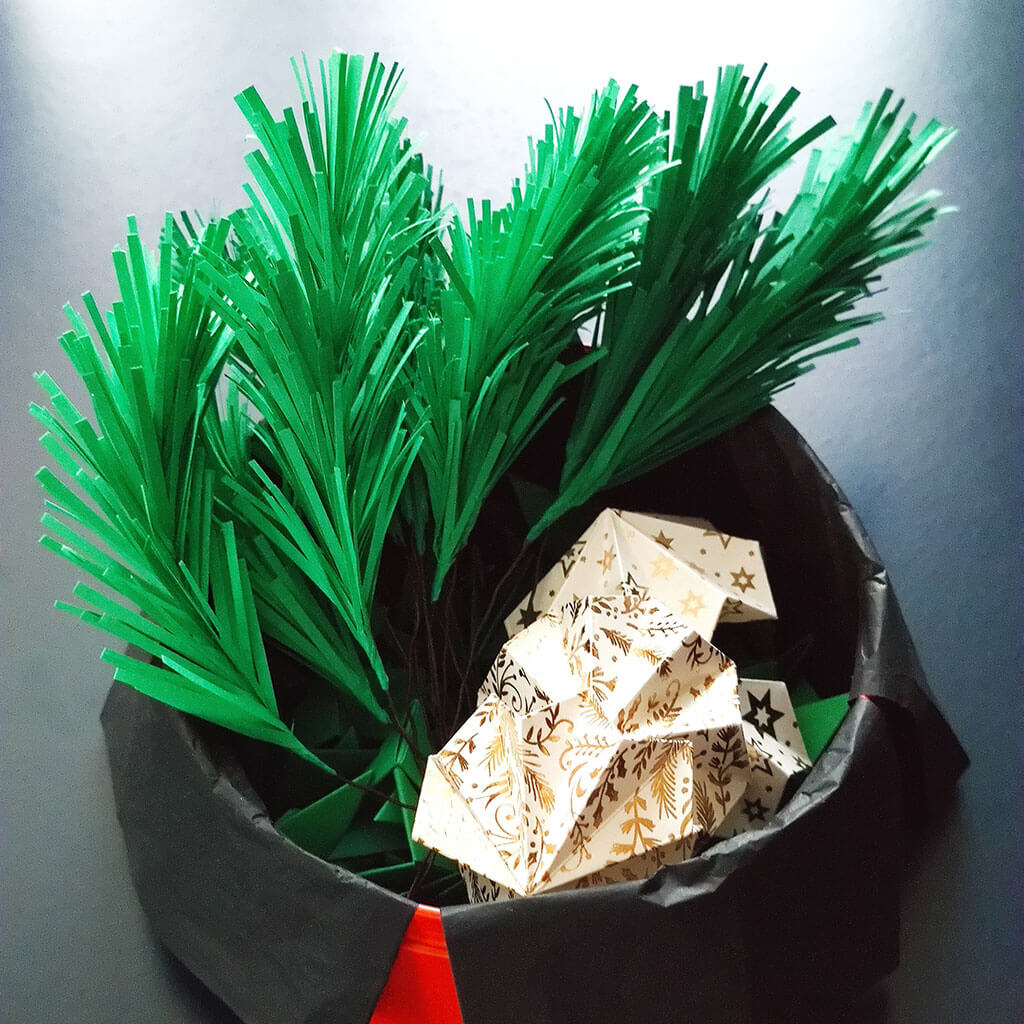
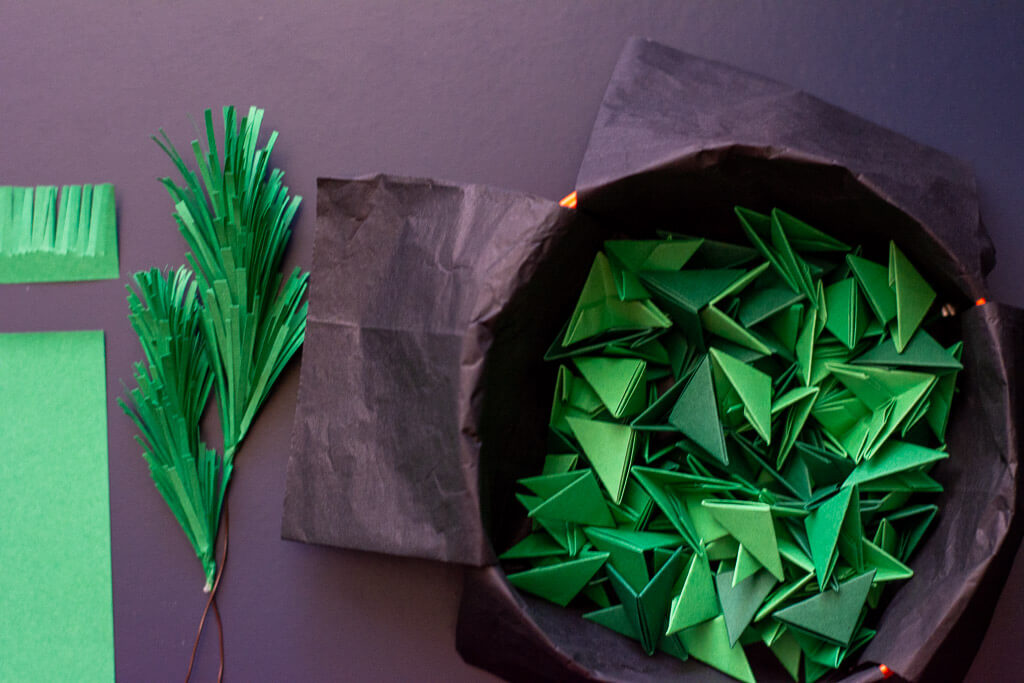
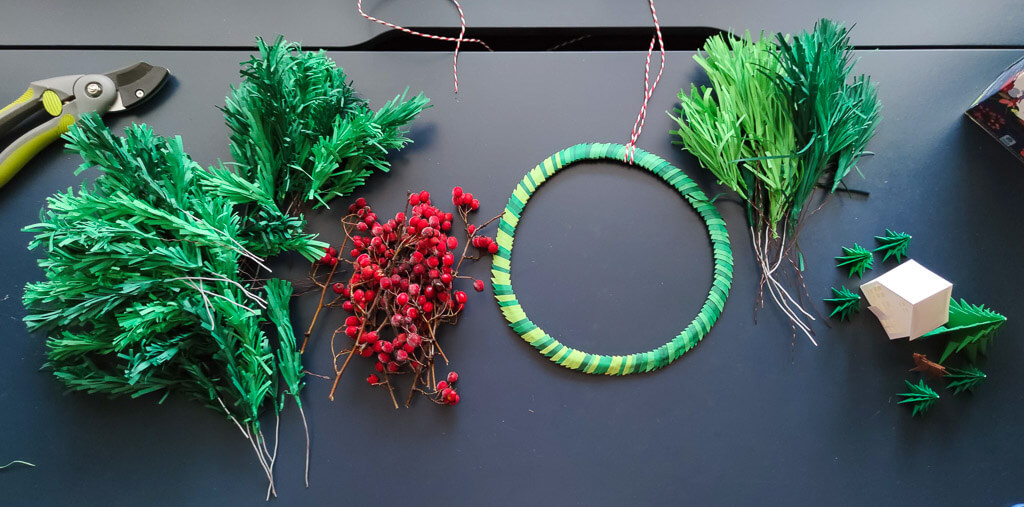
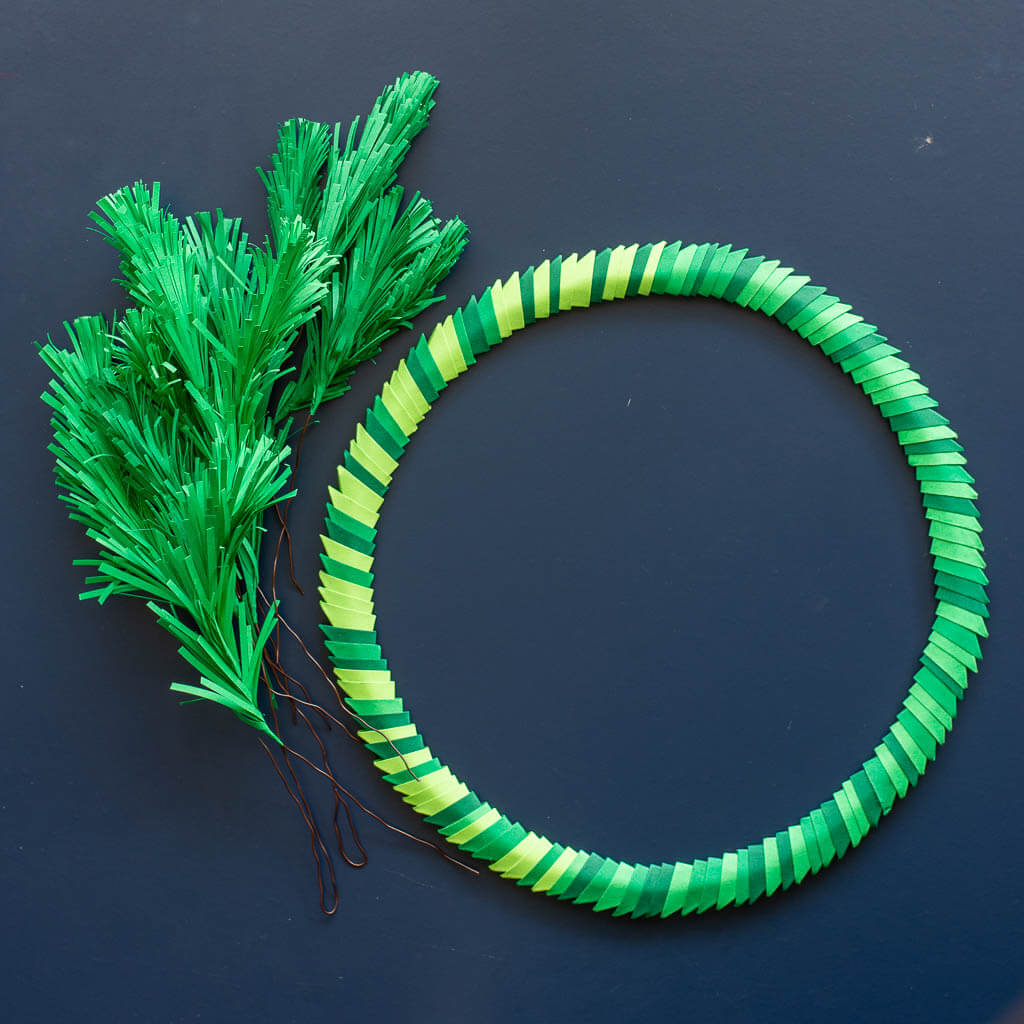
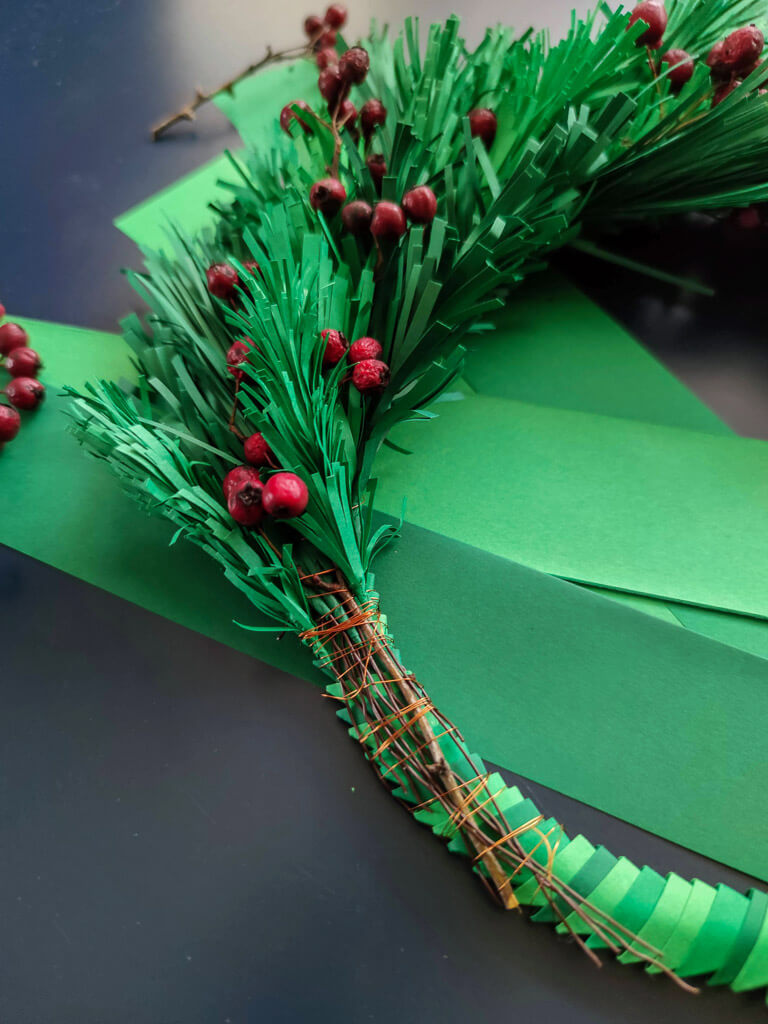
If last time I used a circle made of wire as the base, this time I went with golden venture modules as the base of the paper Christmas wreath.

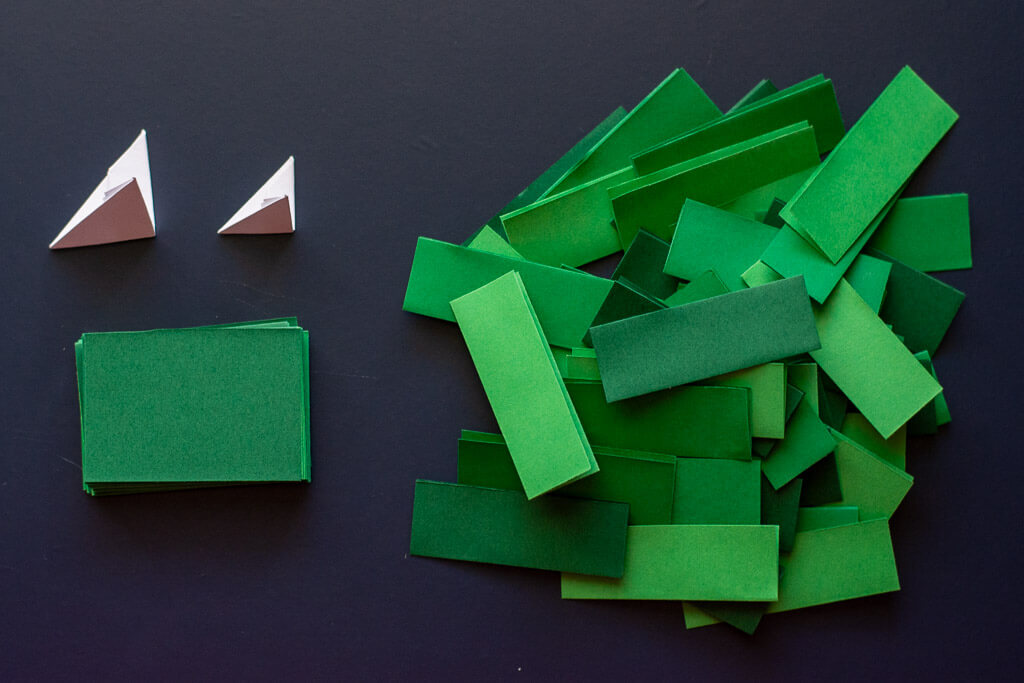
I first cut the paper to size again, then started to fold them.

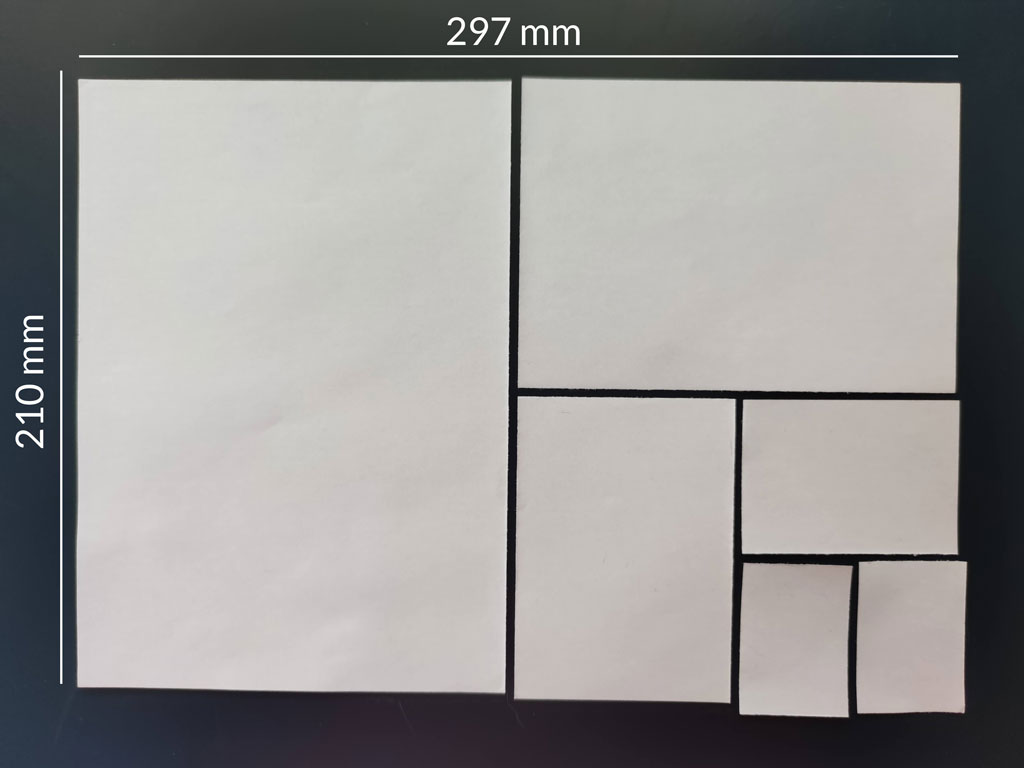
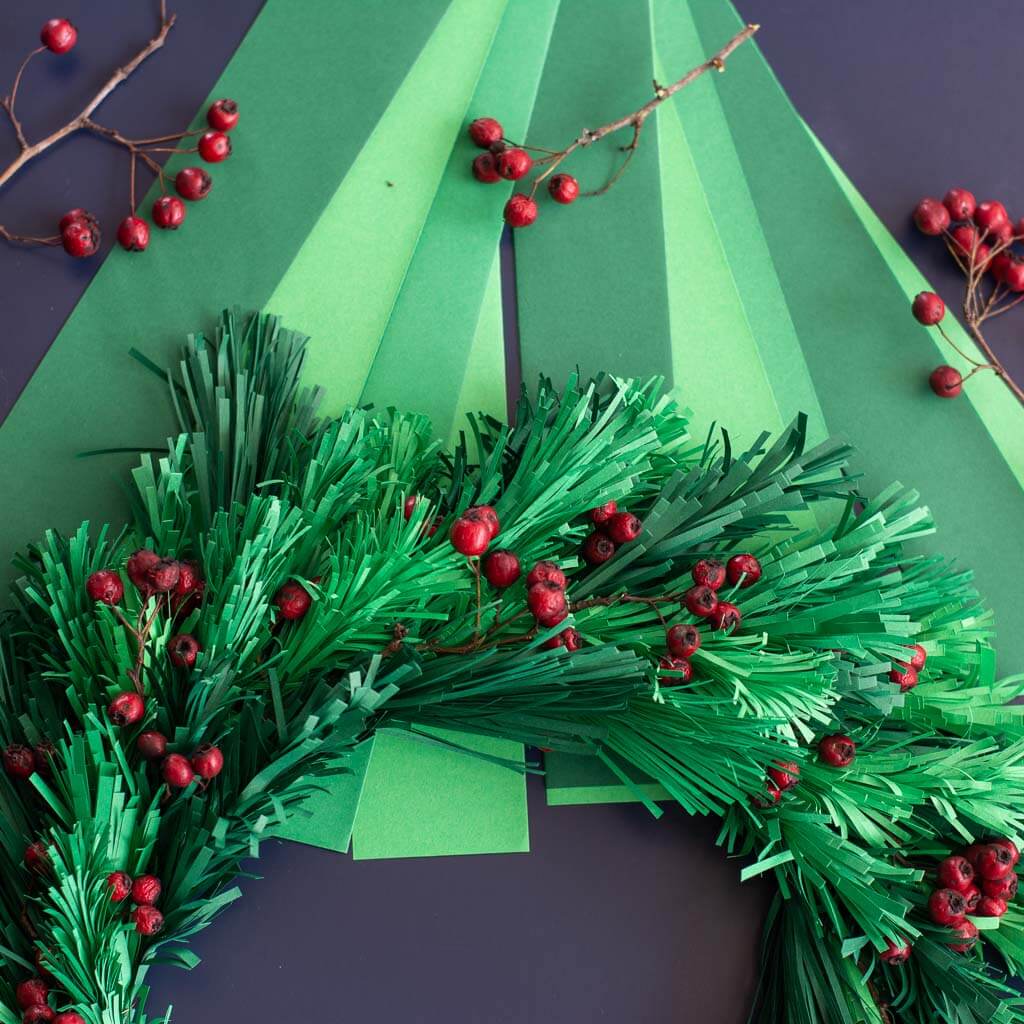
When I do these modules I like to start them from an A4 xerox paper. I first fold it in half, cut it, then again in half, cut, then again and again and I get 32 triangles from one A4 piece of paper.

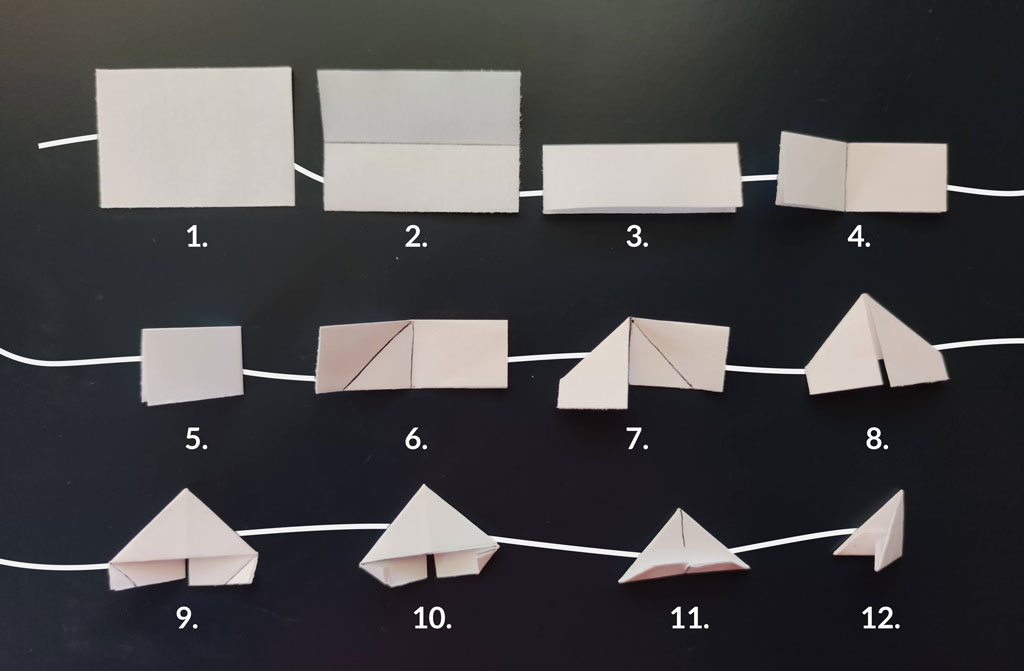
After cutting the paper to the size I folded them in half, then again in half, then folded the corners down, and then the end tips up and fold them in half.

Check the image below for a more clear explication.

Decorative elements that I want to use for this paper Christmas wreath

For the decorative elements, I decided I want a small white house (I don’t have a template for it, but I’m sure that you can find one on the internet), a tiny dear, and some trees.

I usually like to use this model for Christmas trees as it’s simple, easy, and fast to make. You can see in the right column how I do it.

The paper that I used for these trees is Rainbow Color from Tuttle Publishing.

I also used different sizes, but I don’t really remember the dimensions.

For the reindeer, I went with a diagram that I found online. 

It seems to be a model that you can fold when you visit the Nara city in Japan. I don’t know who the author is for this model, I think it’s a traditional one. 

I can make this model with cuts in the antlers or not. For the one that I used for the wreath, I just let the antlers in one piece as it was a small model.

You can fold the model yourself by following the video I made in the left column.

You will need two square pieces of paper to fold this model. The paper that I used for the reindeer in the wreath is from Heyda. I don’t remember the size. (I should start writing this info down when I’m folding a model)

The paper that I use in the video is Nature Patterns from Tuttle Publishing and the size in 15 x 15 cm.

The Asambly of the Paper Christmas Wreath

Now that I have folded all the modules for the base, and lots of branches I can start putting them together.

I first glued together the little triangles in form of a circle and then started to tie the branches to the circle with some wire. I also used some real branches with small red fruit that I got from a tree nearby.

I have to admit that I had to fold more branches than I thought multiple times. I also undo the wreath a couple of times as I was not convinced I totally liked it.

After tieing all the branches to the base, I added a red bow and a string to be able to hang on the door.

I actually end up getting rid of the bow as I did not liked the look.

The cat also liked the wreath as you can see in this photo behind the scenes :))

My Paper Christmas Wreath - Final photos

After being happy with how everything looked, all that was left to do, was to glue the decorations to the wreath. I used wood glue (that’s what I like to use) to do this and left it to hang to dry.

And this is the final result:

If you want to see more Christmas Origami models you can check those other articles that I have made for this theme:

Cristina Coroiu
Blogger
I'm a proud Hufflepuff who loves to fold origami models and share them with the world.

Comments are closed.