I have seen those pumpkins on my Instagram feed as Halloween Jack O’ Lanterns and I thought they are so cute.
Origami pumpkins are popping up everywhere this Halloween season! I’ve seen them all over Instagram as adorable, creative Jack O’ Lanterns, and I thought they were too cute not to try. After some research and experimentation, I decided to share this step-by-step guide with you.
Although I couldn’t pinpoint the original designer of this modular origami pumpkin, the model has been shared by many talented creators on YouTube. Each tutorial offers a slightly different approach, especially when it comes to the little tail of the pumpkin. In this guide, I’ve simplified the process for you, so it’s easy and fun to make, even if you’re new to origami.
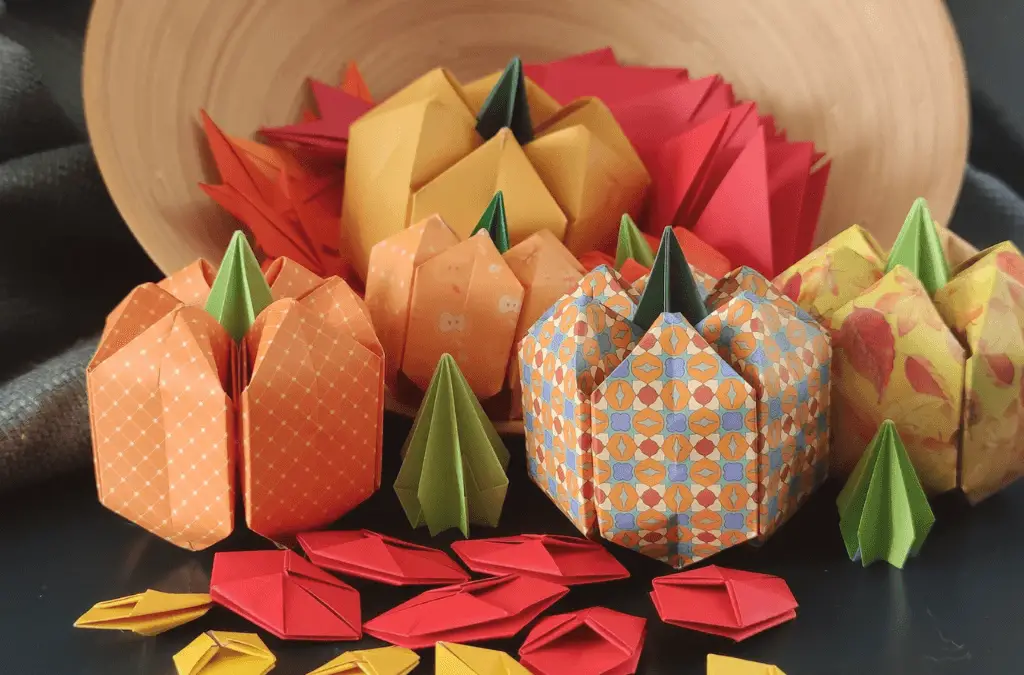
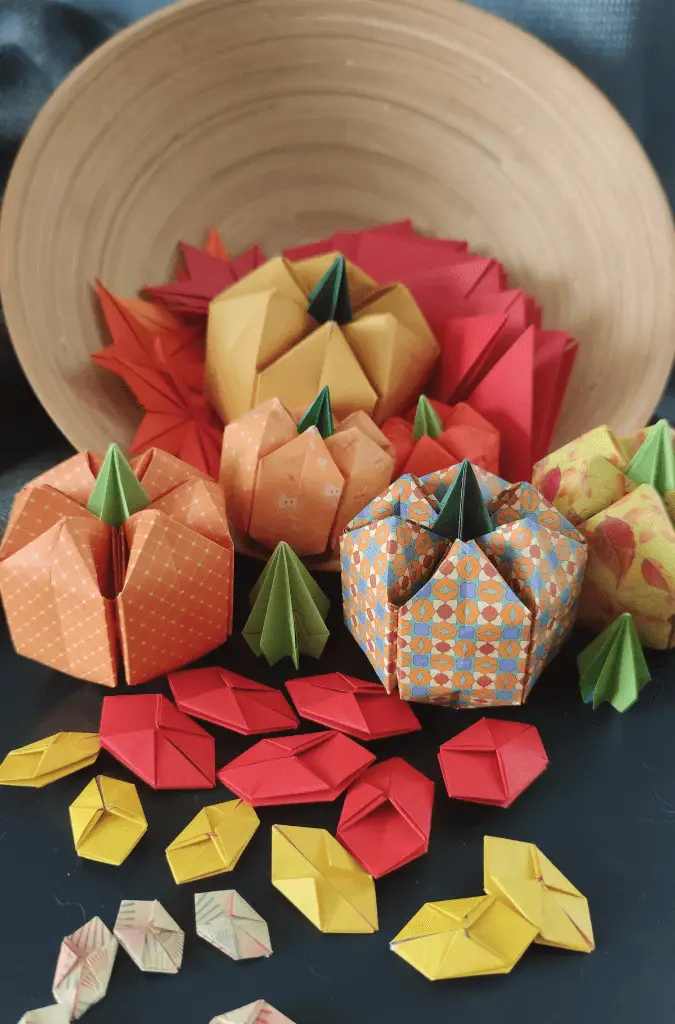
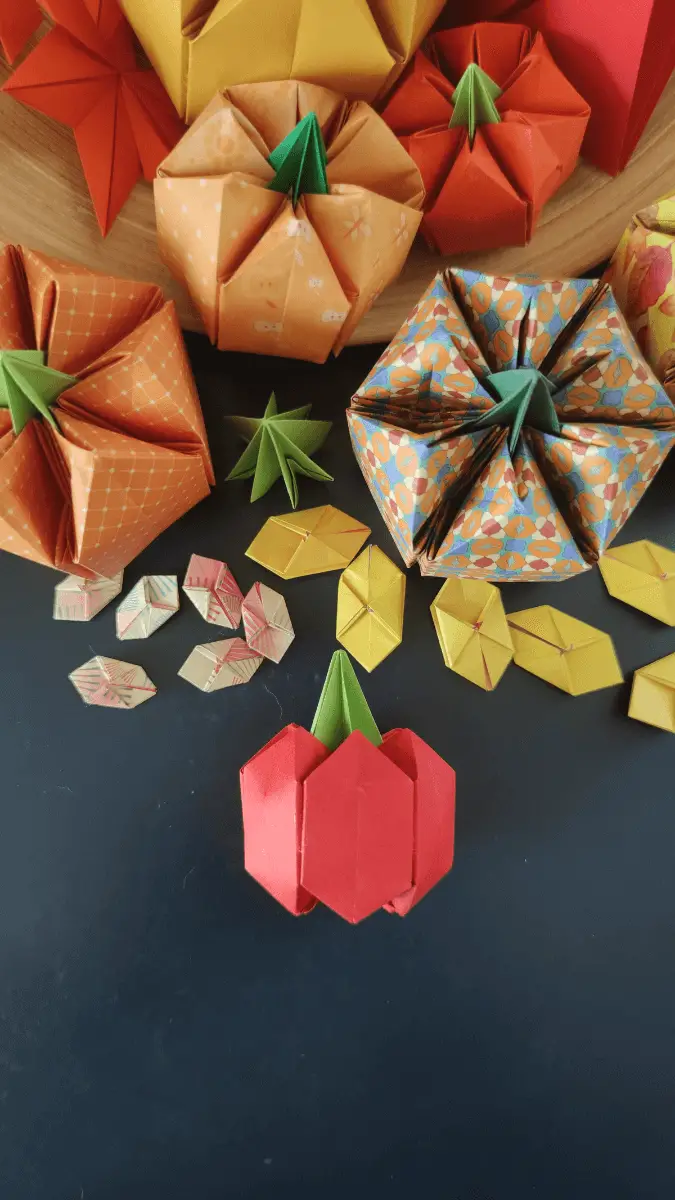
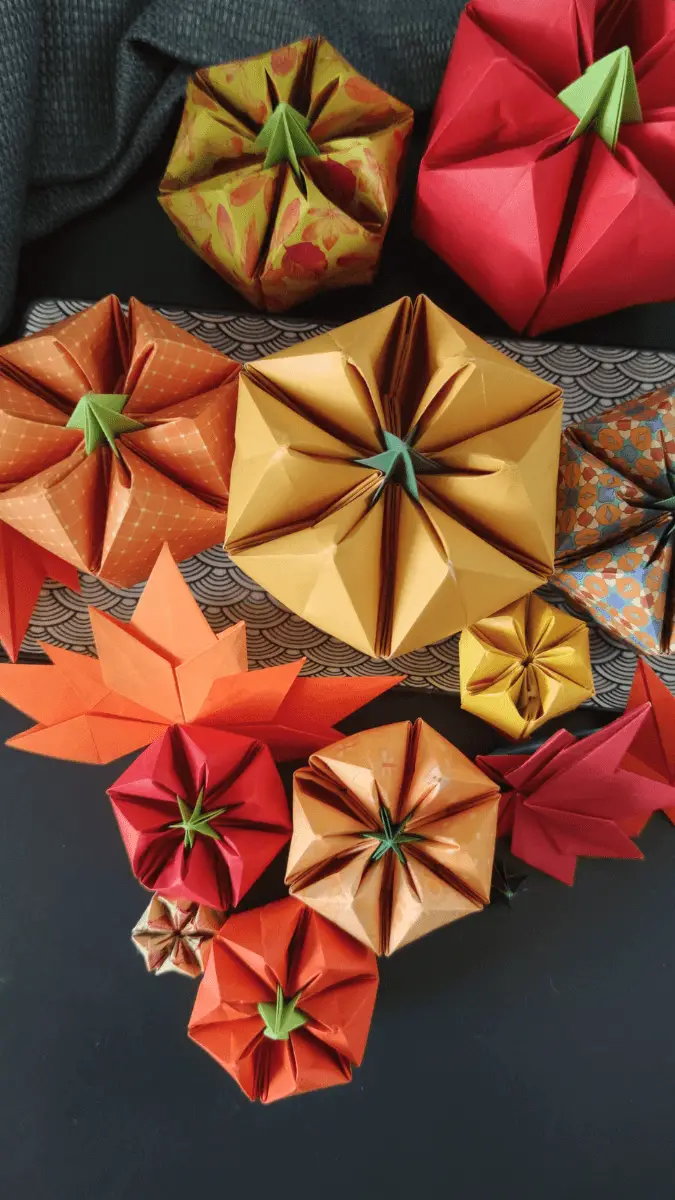
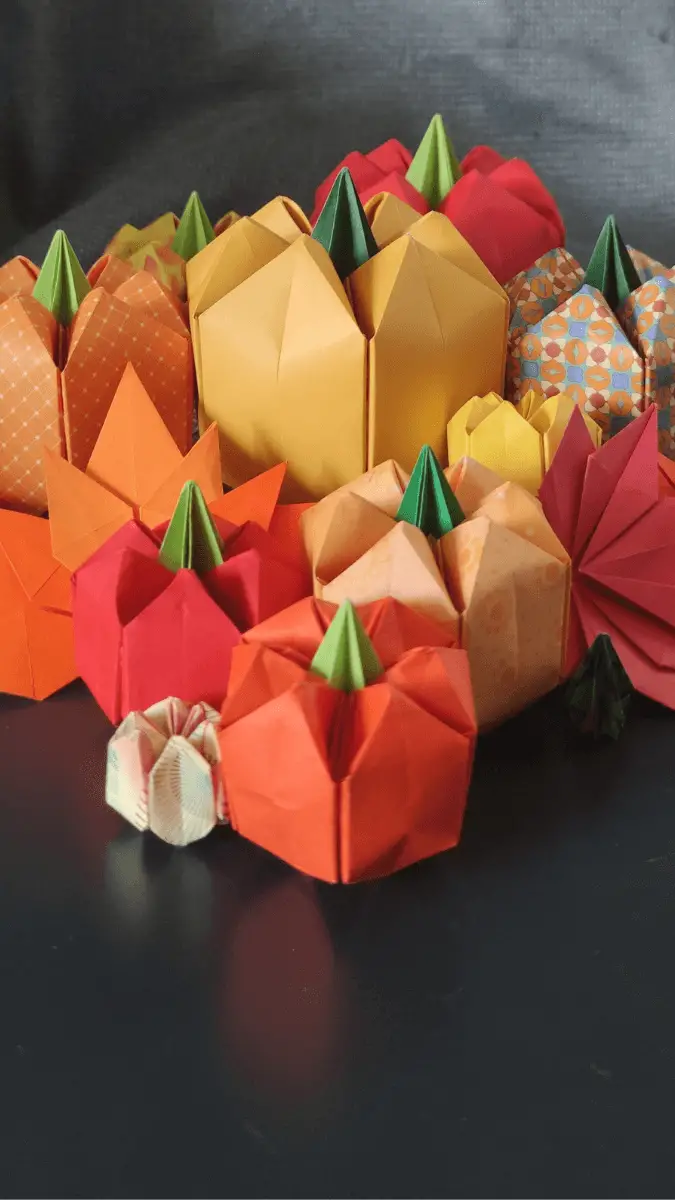
Feel free to get creative with the colors! You can stick with traditional pumpkin orange or mix it up with playful fall hues like deep reds, yellows, or even greens.
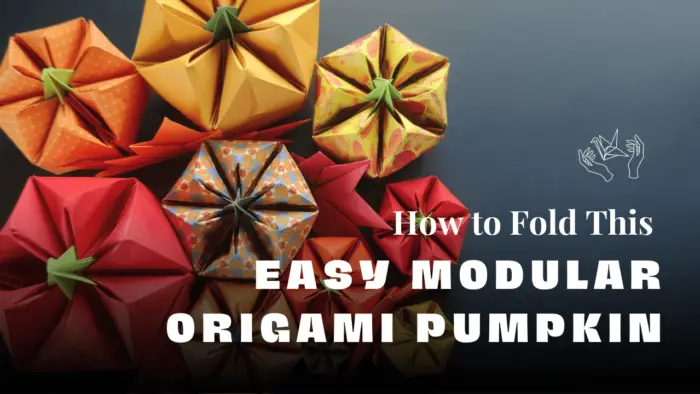
Step-by-Step Folding Instructions On How to Fold This Easy Modular Origami Pumpkin:
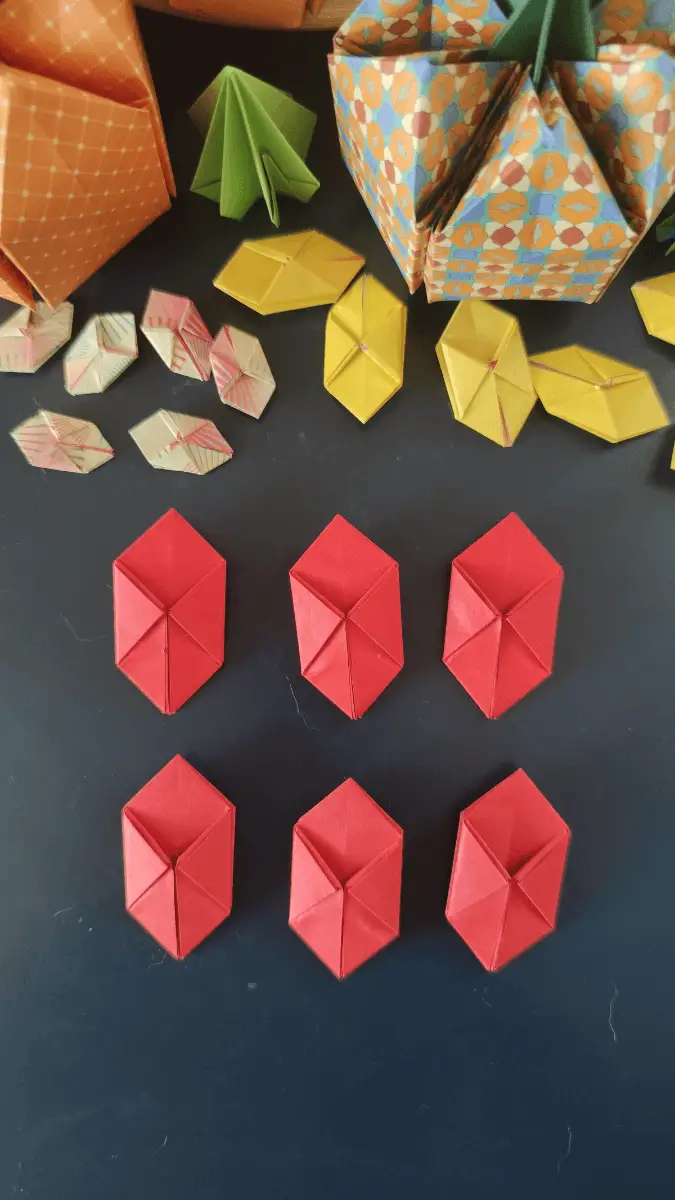
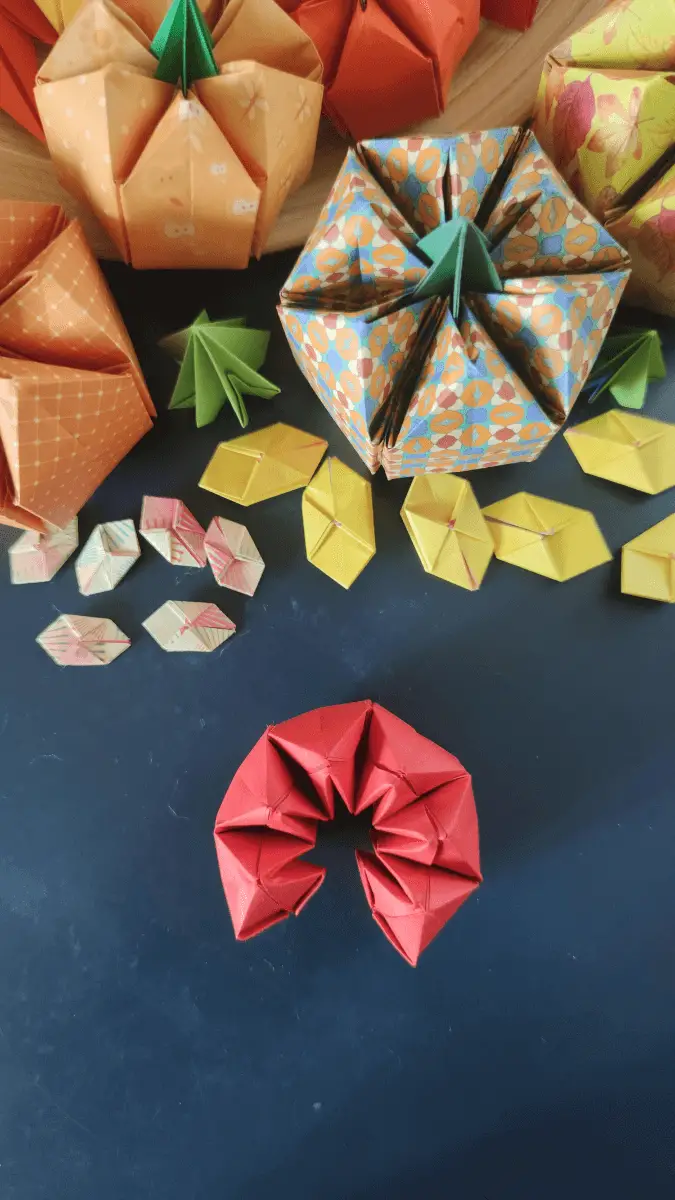
The pumpkin’s body is made up of 6 traditional origami balloon shapes. Here’s the fun part – you can experiment with the size of your pumpkin by varying the size of your square paper.
Start by folding each of your six square papers into individual origami balloons. Take your time with each fold to ensure they are neat and symmetrical. This will make the assembly process much easier and the final pumpkin more uniform.
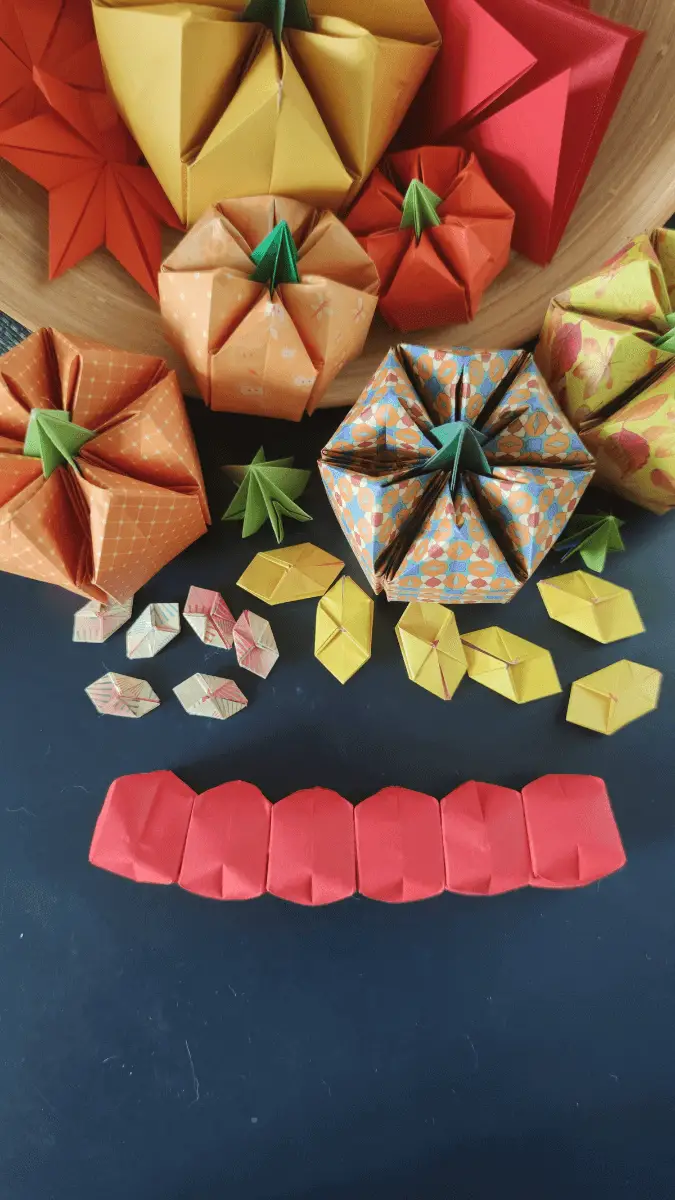
It’s time to inflate each balloon by blowing into the small hole that remains after folding. This step brings the pumpkin to life! After inflating all six balloons, gently press on one side of each so that the balloon is only inflated on three sides. This will give the pumpkin its slightly flattened, realistic shape.
How to Fold This Easy Modular Origami Pumpkin:
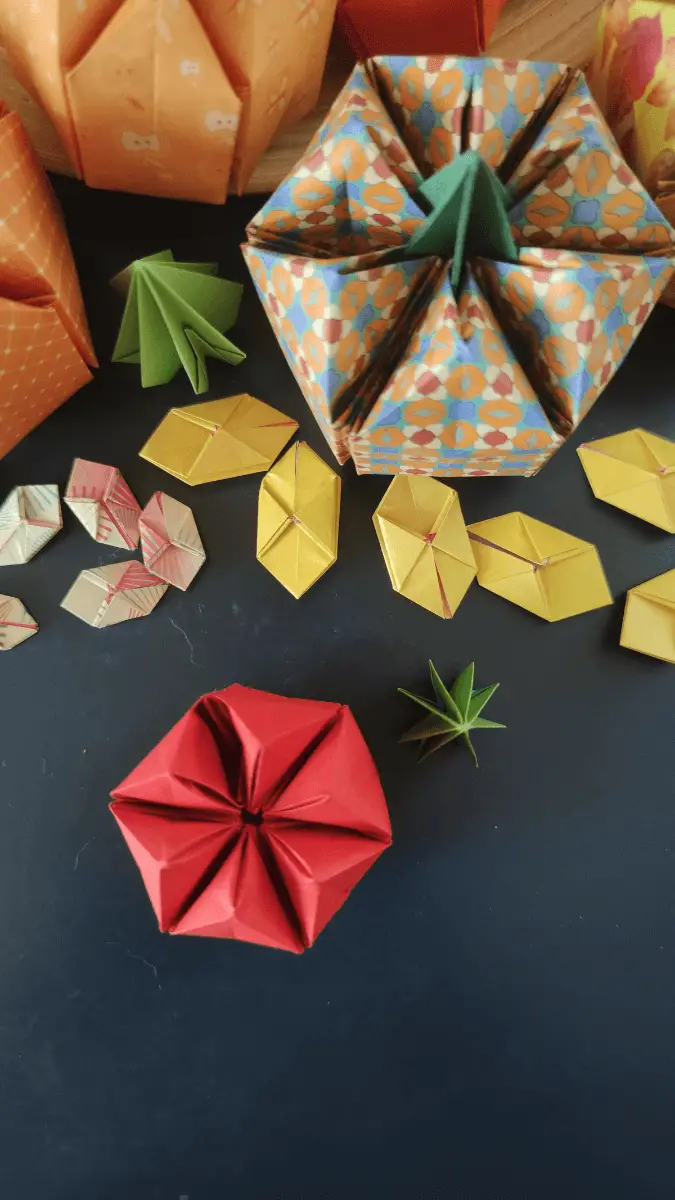
After all six pieces are folded, you’ll need to glue them together to form the pumpkin’s round body. You’ll want to glue the flat sides of the balloons to one another, aligning the edges carefully.
Here is where I used hair pins to hold it in place.
I did seen some tutorials that had 7 pieces instead of 6, and most of them will hold the model in hand until it dries.
My glue is not drying that fast, so I had no patience for that.
After everything is glued you just have to insert the tail and it’s all done.
If you want to make some cute faces to your pumpkins you could do that as well.