star puff tessellation (2)

How to Fold Star Puff Tessellation

star puff tessellation

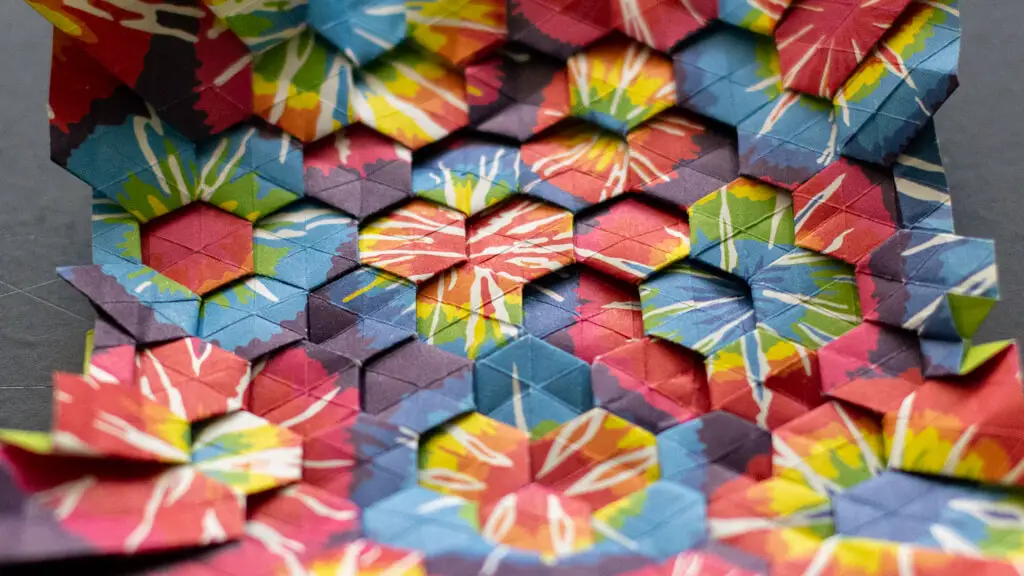
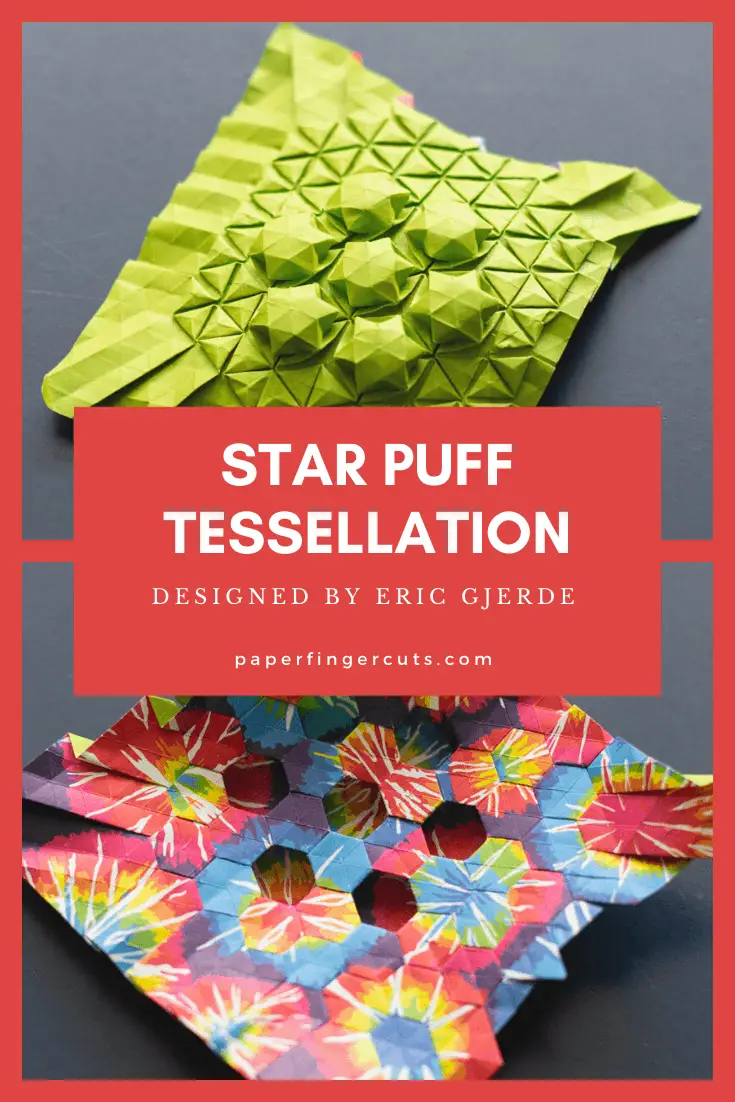
This origami tessellation can be found on the page 36 of the book mentioned before, and it’s a beginner project.

I have to admit that I made a few mistakes on this one.

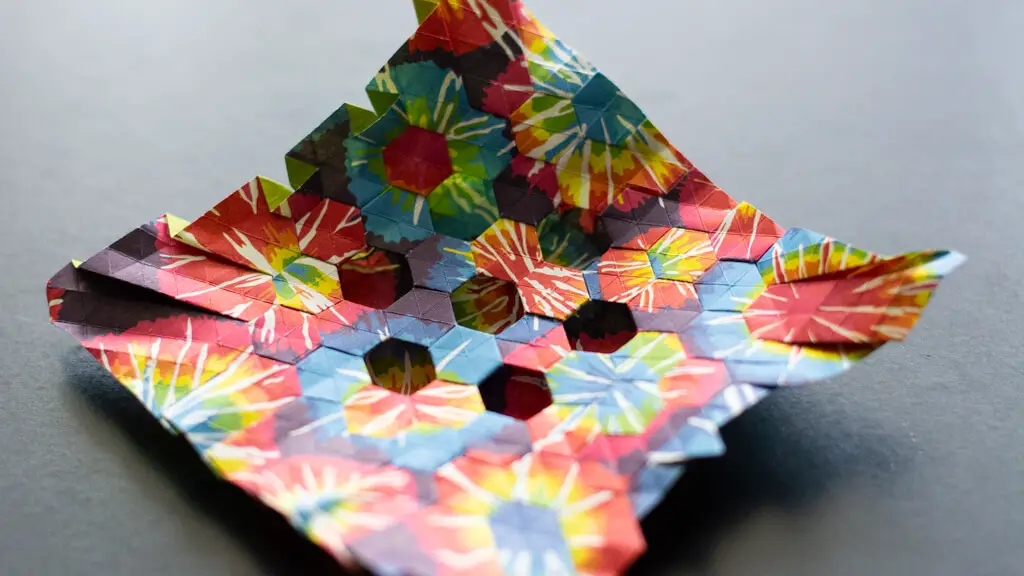
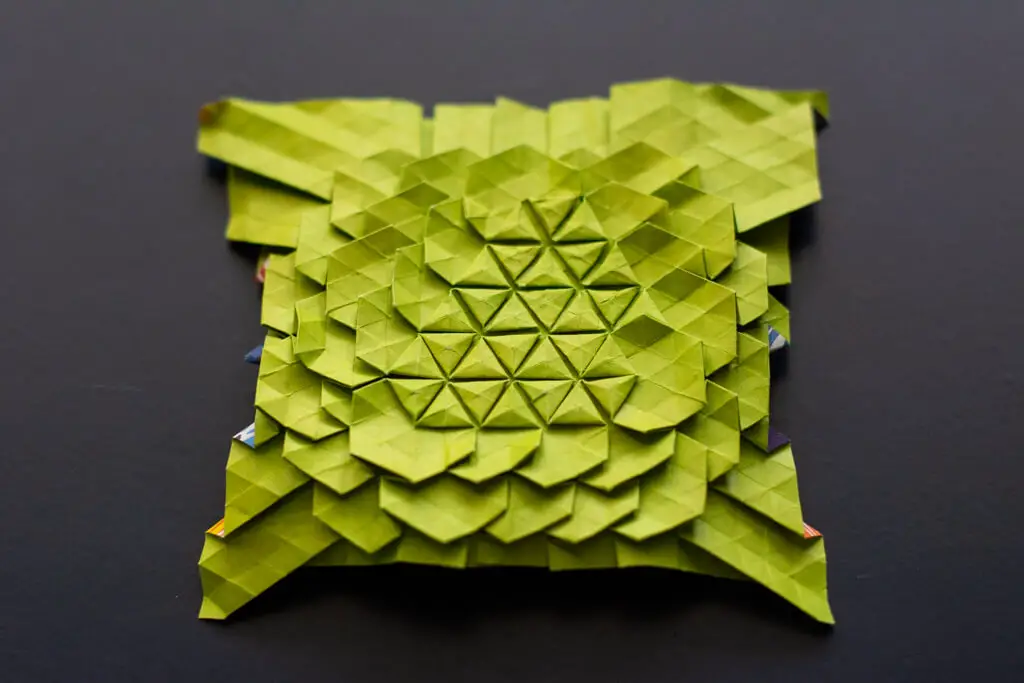
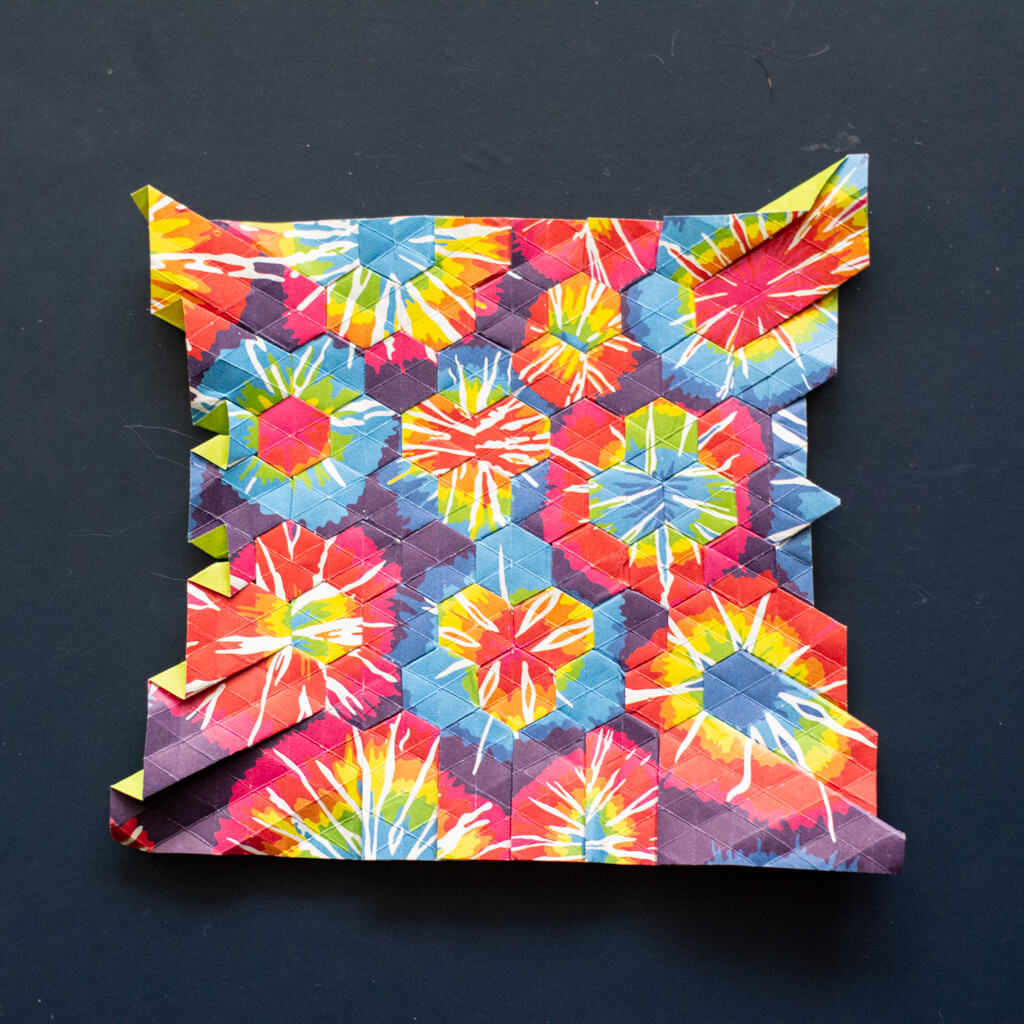
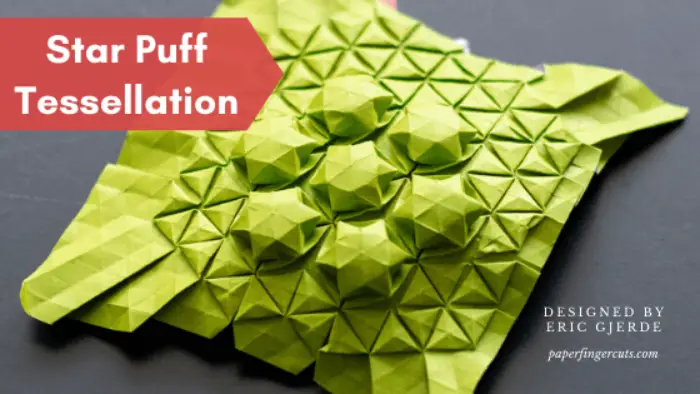
I wasn’t sure how I like it more, the star shape part or the verso.

In the beginning I thought I like the verso more, so I started with the color side down….but after working on it, I wished I would have made it with the colored side up.

In order to make this Star Puff Tessellation you have to start with a Spread Hexagons pattern on a triangle grid.

I first made o grid of 16 divisions but then I pushed a bit further and went with a 32 divisions as it’s suggested in the book.

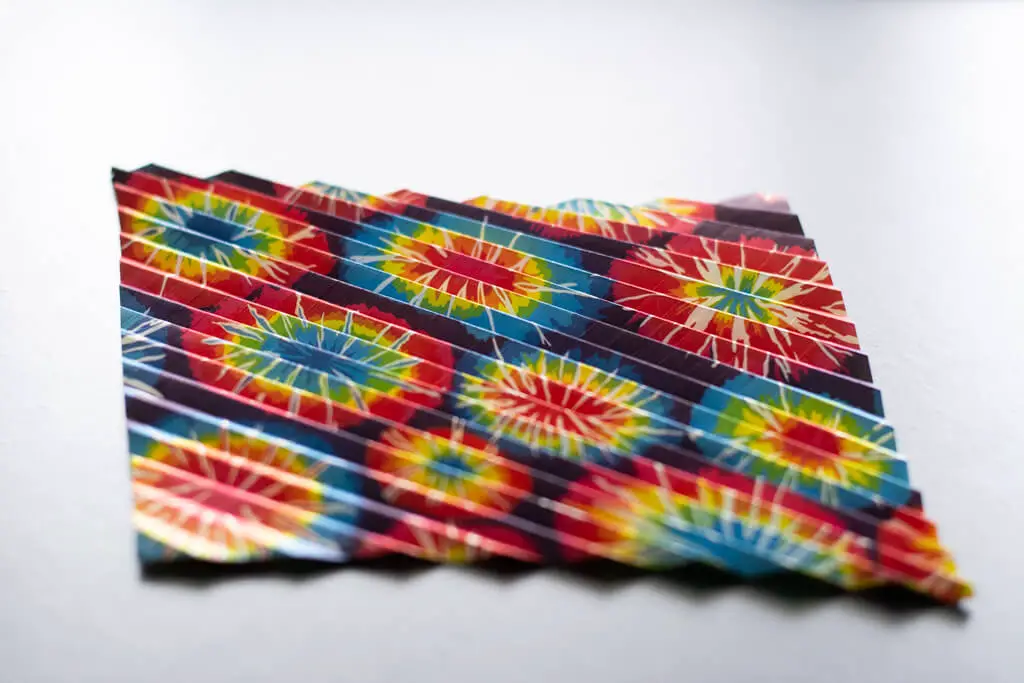
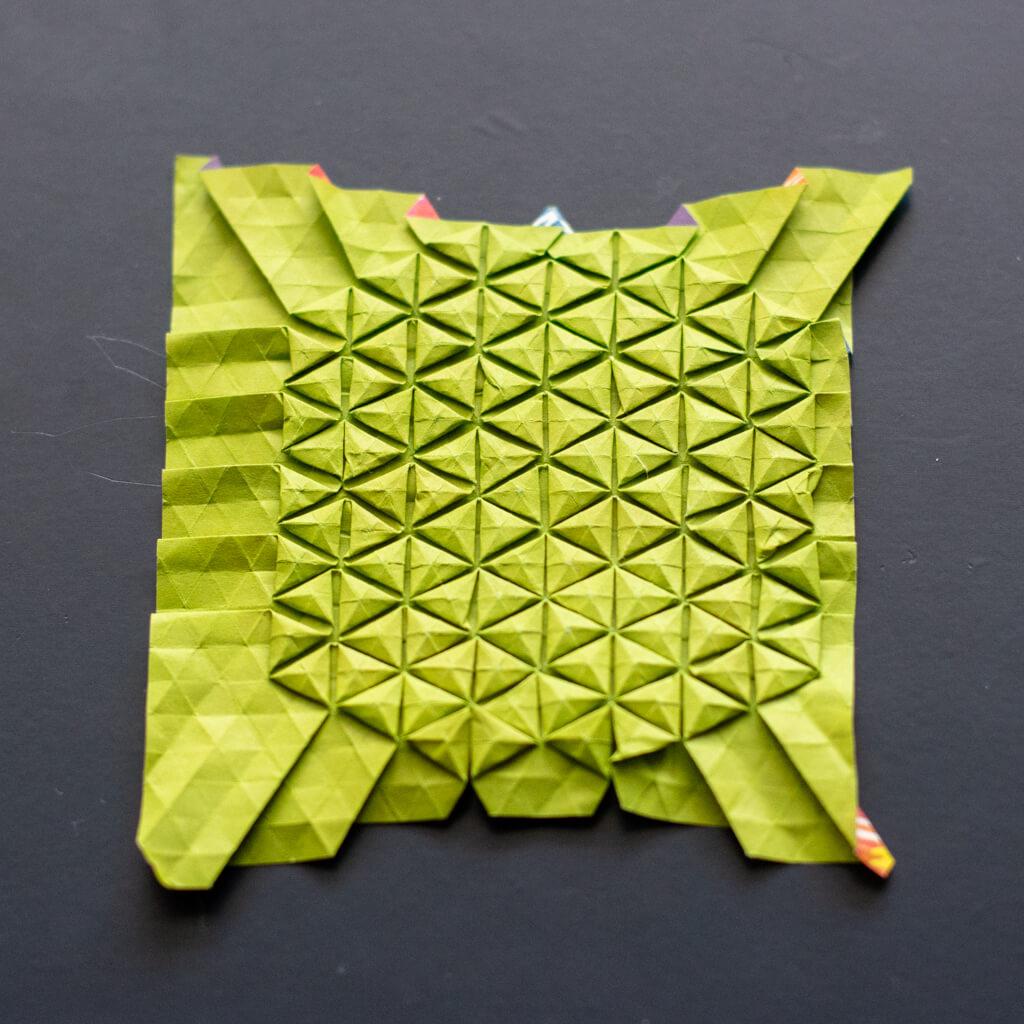
After you finished pre-creasing the grid you will start working on the Spread Hexagons pattern. The book will teach you every think you need to know. 

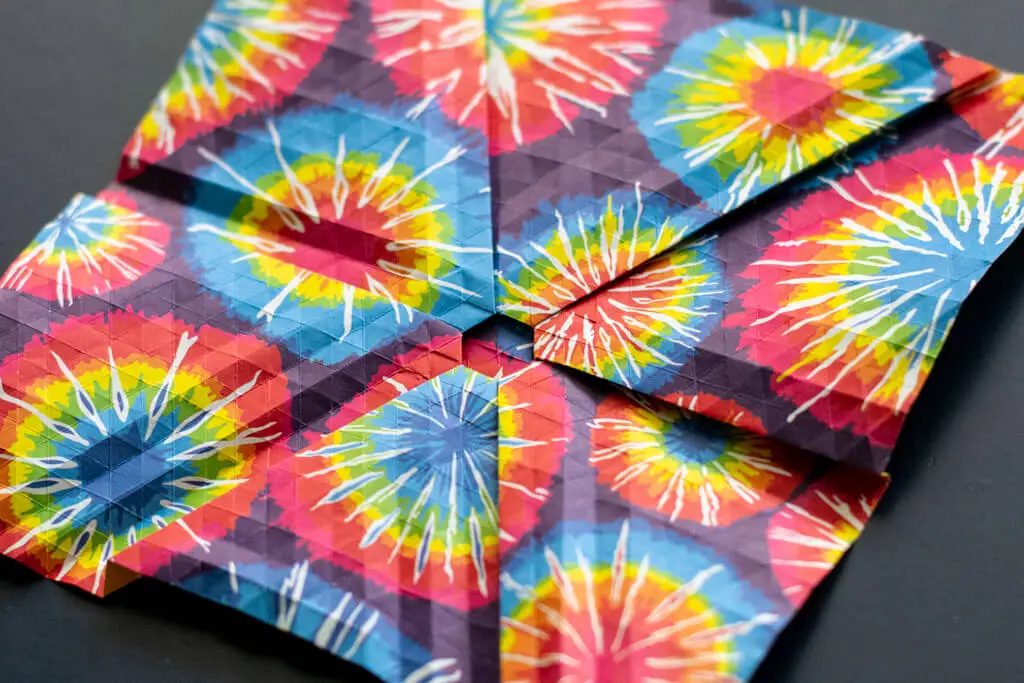
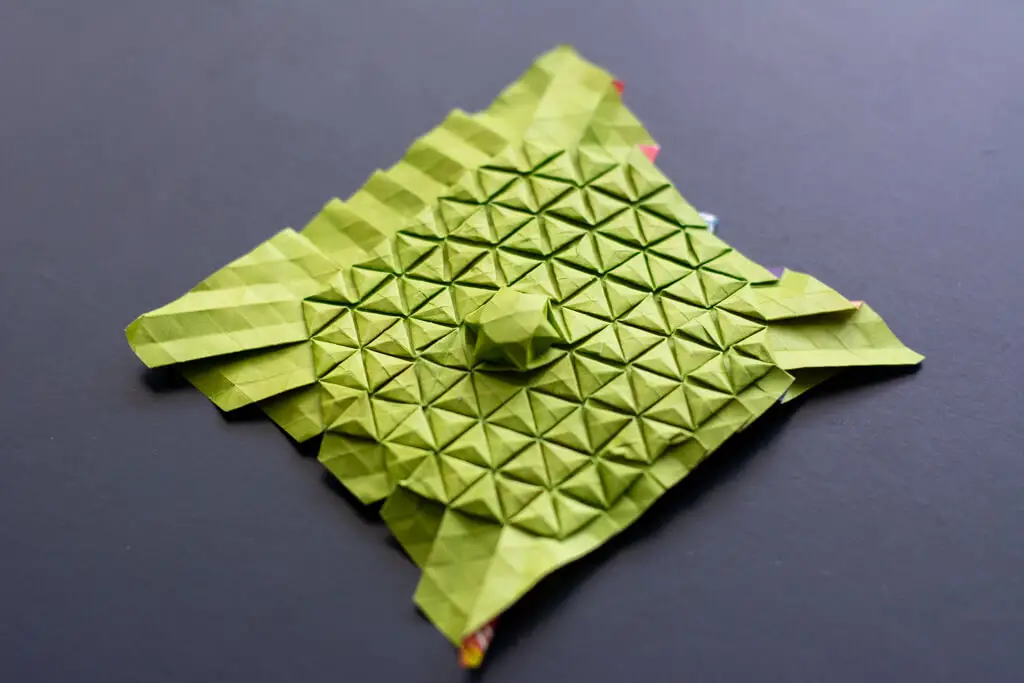
The pattern tells you to find the middle and start from there.

On first try I did not started in the middle, so I unfolded and tried again, but it was still not in the middle. Even the third time was not a lucky one so I gave up and continued it the way it was.

Once the Spread Hexagon pattern is made you will continue by making a triangle twist at every corner on the hexagon.

This is quite simple to make, a time consuming one, but a easy one.

Star Puff Tessellation

And we are almost there. After you prepared the paper with the triangles twist you will start shaping the stars.

You will have to push on the triangle from the opposite site and the paper should pop into place and form a beautiful star.

You can make the stars wherever you want them and as many as your pattern allows.

Cristina Coroiu
Blogger
I'm a proud Hufflepuff who loves to fold origami models and share them with the world.

Comments are closed.